
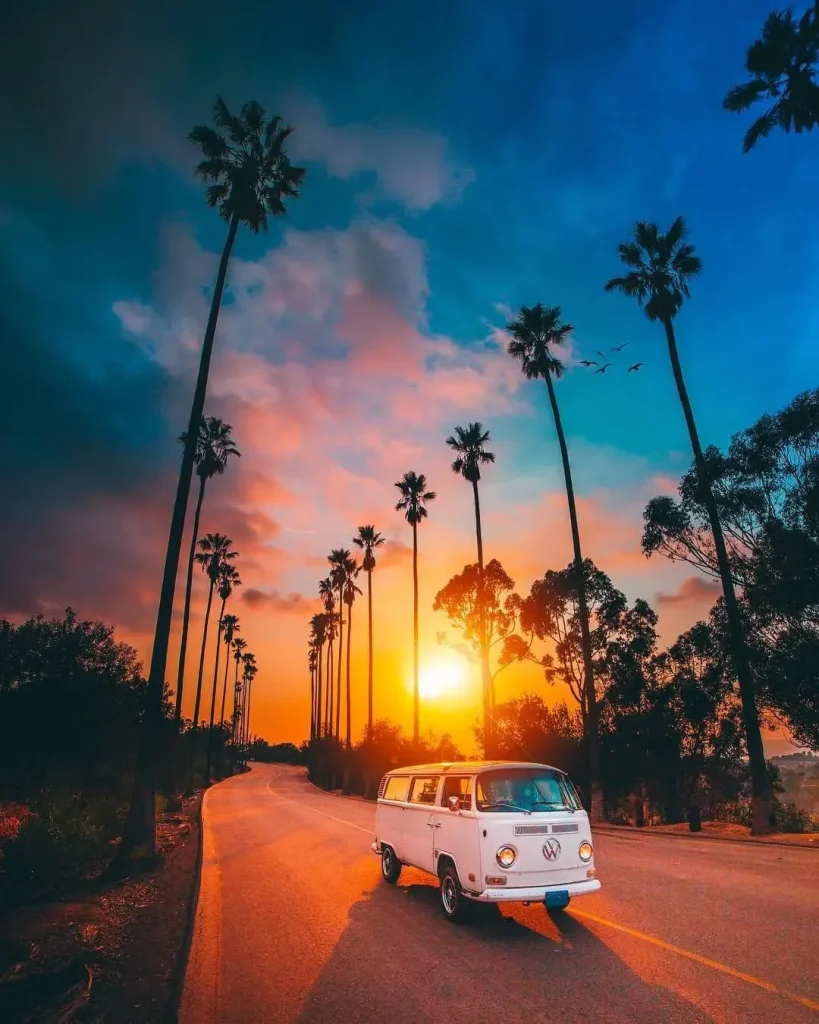
Beach sunsets. They’re the rockstars of the natural world. The main event.
The sky explodes in a blaze of orange, pink, and gold, the waves catch fire, and for a few perfect moments, everything feels like magic. It’s the kind of scene that makes you whip out your phone or camera, desperate to capture it.
But then you get home, look at your pictures, and… meh. The colors are flat, the shot is blurry, or it just doesn’t have that wow factor you felt in person. What gives?
Let’s be real, nobody wants their gallery filled with disappointing sunset pics. The goal is that scroll-stopping shot, the one that perfectly bottles up the magic of that evening.
We’re aiming for photo envy, the kind that makes your friends ask, “Whoa, did you take that?” So, let’s ditch the common blunders, embrace a few simple tricks, and get you ready to nail that perfect shot.
Consider these your cheat codes for incredible Beach Photography Tips.
1. The “Too Late to the Party” Problem

This is the big one. You see the sky looking pretty, so you race down to the beach, only to find the sun is already halfway gone and the best light is fading fast.
A sunset isn’t just the moment the sun dips below the horizon; it’s a whole performance.
The show starts at least 30-45 minutes before sunset (the “golden hour”) and continues for another 20-30 minutes after (the “blue hour”). Arriving late means you miss half the good stuff.
Get there early. Scope out your spot, set up your gear, and watch the light change. This is the core of good Sunset Photography – patience.
2. The “Let the Robot Drive” Rut
We all do it. In a panic to capture the fleeting light, we switch our camera (or phone) to full Auto mode and start firing away.
Here’s the deal: Auto mode is designed for average situations, and a blazing sunset is anything but average.
It often gets confused by the extreme brightness, underexposing the foreground into a black blob or blowing out the highlights in the sky.
Take control! Even on a phone, use the exposure slider (usually a little sun icon that appears when you tap to focus) to manually brighten or darken the scene.
On a camera, switch to Aperture Priority or Manual mode to really dial in your settings. It’s a simple switch that makes a huge difference.
3. The “Plop it in the Middle” Blunder
A classic beginner move: you see the beautiful sun and place it dead center in your frame. While it can work sometimes, it’s often the most boring composition.
Use the Rule of Thirds. Imagine your screen is divided into a 3×3 grid.
Place the horizon on the top or bottom horizontal line, and place the sun or your main point of interest where the lines intersect.
This instantly creates a more balanced and dynamic image.
This is one of the most fundamental Composition Techniques and will immediately make your photos look more professional.
4. The “Empty Stage” Mistake
A picture of just the sky and water can be beautiful, but it often lacks depth and scale. Without a foreground element, the viewer’s eye doesn’t have a place to land.
Look for interesting things to put in the foreground. It could be a piece of driftwood, a pattern in the sand left by the tide, some interesting rocks, a pier, or even a person’s silhouette.
This “anchor” gives your photo a sense of place and draws the viewer into the scene.
It’s a key trick for turning a simple snapshot into a compelling photograph, a must-know for solid Beach Photography Tips.
5. The “Salty Smudge” Sabotage
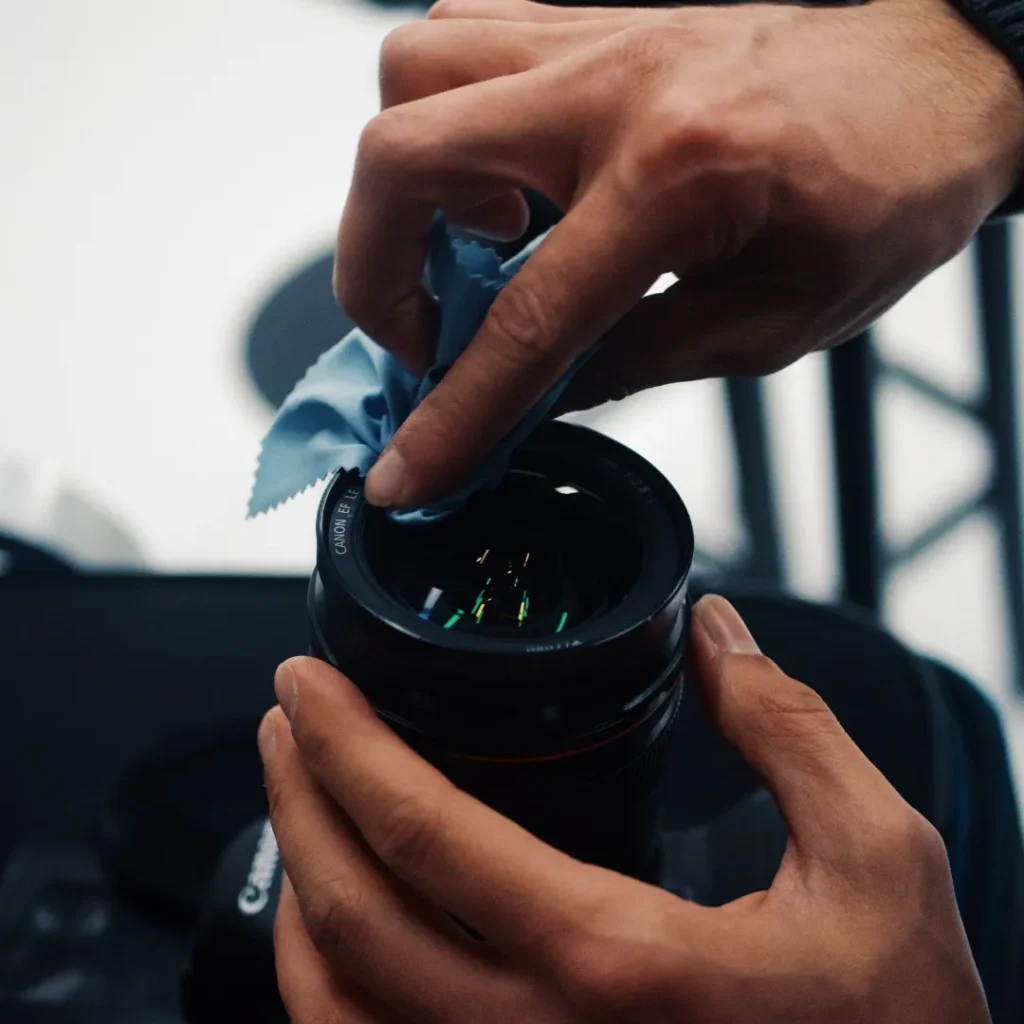
You’ve got the perfect composition, the light is epic, but your photo looks hazy and soft. The culprit? A dirty lens.
The beach is a minefield of lens enemies: salt spray, sand, and fingerprints.
A single salty smudge can ruin the sharpness and contrast of your shot. It’s a simple mistake that can sabotage your best efforts.
Always carry a microfiber lens cloth. Give your lens a quick, gentle wipe before you start shooting and check it periodically.
It’s a two-second habit that will save you so much frustration. This is a non-negotiable part of your Photography Gear Essentials.
Unlock the Secret Weapon: The Tripod
Okay, you’re taking control of your settings, but as the light fades, your photos are getting blurry. This is where a tripod becomes your best friend, not just some clunky accessory for pros.
As the sun goes down, your camera needs a slower shutter speed to let in enough light. It’s impossible to hold a camera perfectly still for these longer exposures, leading to motion blur.
A tripod eliminates that shake, giving you tack-sharp images, especially for that silky, smooth water effect.
Even a small, portable tripod is a game-changer. It’s one of the most impactful Photography Gear Essentials you can bring for Sunset Photography. Don’t leave home without it.
6. The “Sun is the ONLY Star” Trap
The sun is the main attraction, sure, but it’s not the only thing happening. Many photographers get tunnel vision and only point their camera west.
Turn around! The sky behind you and to the sides is often painted with incredible soft, pastel colors (called “anti-crepuscular rays” if you want to get nerdy).
Look for how the golden light is hitting the dunes, the cliffs, or even the buildings along the shore.
Some of the best sunset shots don’t even have the sun in them. Capture the effect of the light, not just the source.
7. The “Color Catastrophe” (aka Bad White Balance)

Ever take a photo of a warm, golden sunset and have it come out looking weirdly blue and cold?
That’s your camera’s automatic white balance (AWB) getting it wrong.
AWB tries to “correct” for the intense orange and yellow light, neutralizing the very colors you’re trying to capture.
The fix is easy. Dive into your camera settings and change the White Balance from AWB to “Shade” or “Cloudy.”
These presets are designed to warm up an image, which will enhance and exaggerate those beautiful sunset tones, making them pop right out of the camera.
8. The “Forgetting About Silhouettes” Fail
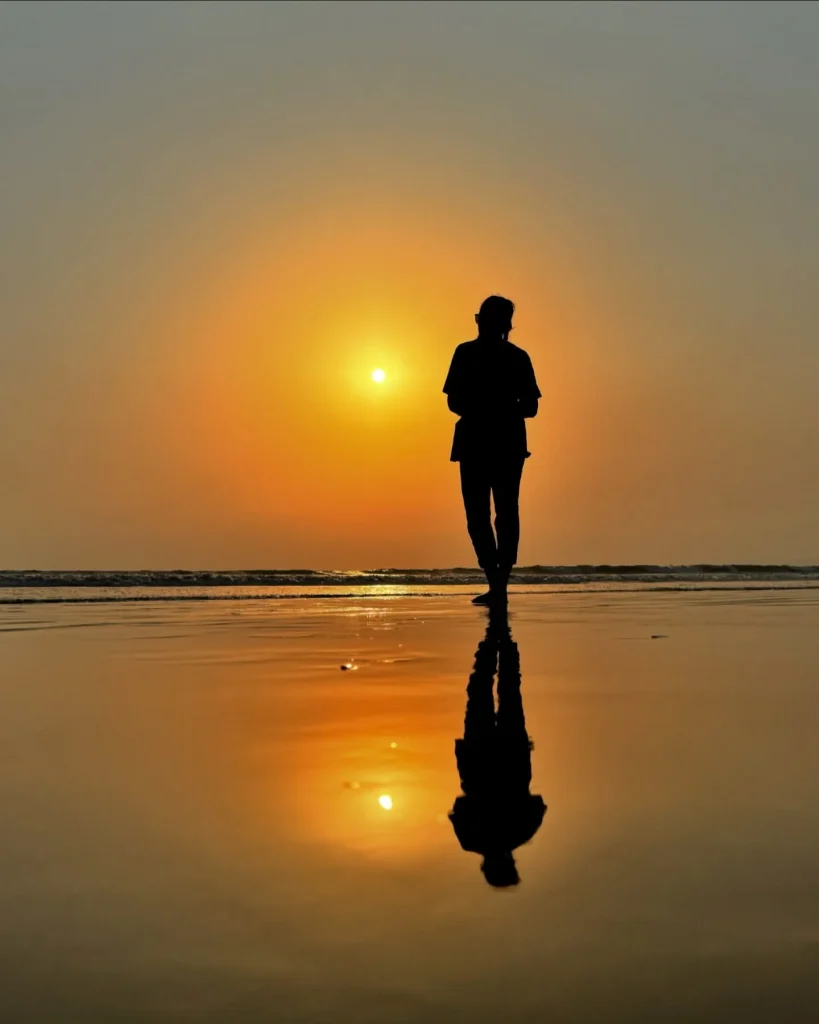
You see a person, a bird, or a palm tree, and you try to get them properly lit, often ending up with a washed-out sky.
Lean into the darkness! A sunset is the perfect time to shoot silhouettes. Instead of fighting the strong backlight, use it. Position your subject in front of the brightest part of the sky.
Expose for the sky, not the subject. This will plunge your subject into deep shadow, creating a dramatic, powerful shape against that glorious color.
It’s one of the most classic and effective Composition Techniques at the beach.
9. The “Sand is the Enemy” Scenario

You’re in the zone, switching lenses or setting your bag down to get a low angle… right in the sand. Big mistake.
Sand is the mortal enemy of camera gear. A single grain can scratch a lens or, even worse, get inside your camera body and wreck the sensor or moving parts.
Be mindful. Set your camera bag on a towel or jacket.
If you must change lenses, turn your back to the wind and do it quickly to minimize the risk of sand getting inside.
Keeping your Photography Gear Essentials safe is just as important as using them.
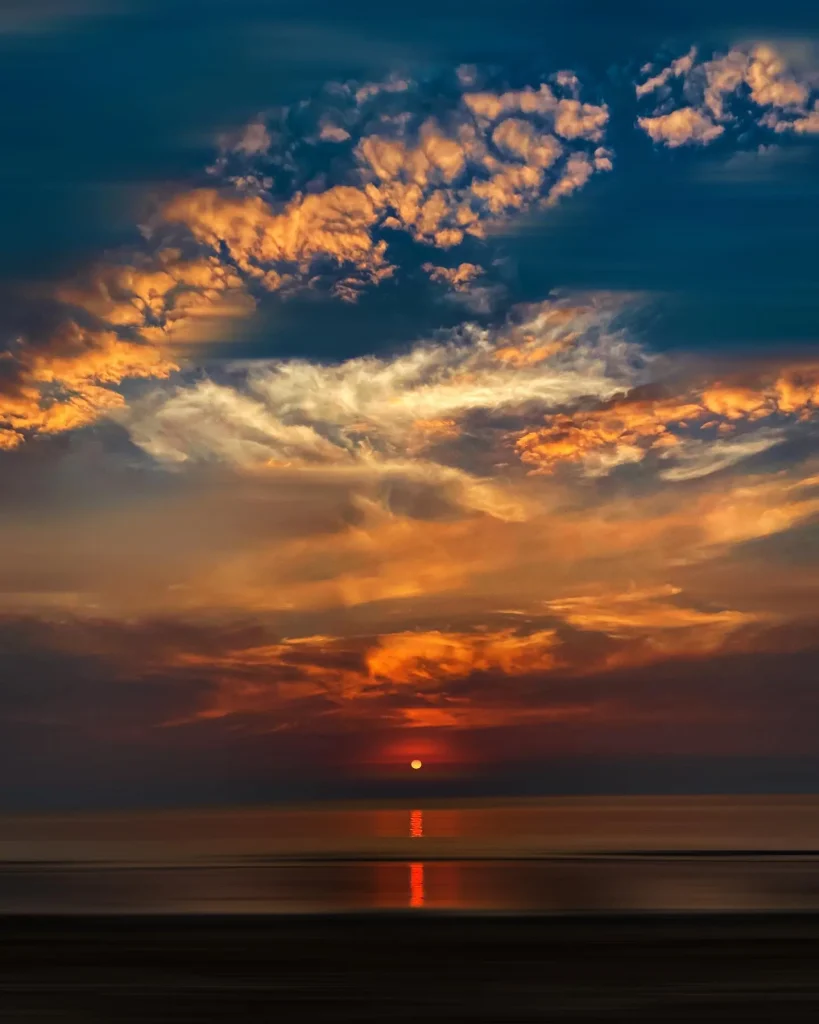
10. The “Sun’s Down, Show’s Over” Myth

The sun dips below the horizon. Done. Time to pack up and go get tacos, right? Wrong!
So many people pack up the second the sun is gone, and in doing so, they miss the grand finale.
The 15-25 minutes after sunset, known as the “blue hour” or “afterglow,” is often when the most intense, vibrant colors fill the sky. The light is softer, more even, and utterly magical.
Stay put. Keep shooting. This is when the real magic often happens. Patience pays off, and the best shot of the night might come when everyone else is already in their car.
The Post-Processing Power-Up You Need
Want to give your photos that extra bit of punch? Shoot in RAW format, not just JPEG.
A JPEG is a compressed file where your camera has already made decisions about color, contrast, and sharpness. A RAW file is like a digital negative – it contains all the unprocessed data from the sensor.
This gives you way more flexibility to adjust exposure, recover details from the shadows and highlights, and fine-tune the colors in editing software later. It’s the difference between a good photo and a great one.
Level Up Your Perspective Game
Don’t just stand there. The most boring photos are often taken from eye level.
Get low! Crouch down to the sand to emphasize ripples or textures. Find a higher vantage point, like on top of a dune or a pier, to get a wider, more expansive view.
Move around. A few steps to the left or right can completely change your composition and hide distracting elements.
Changing your perspective is a free and easy way to make your Beach Photography Tips work even harder for you.
Wrapping It Up: Be the Sunset Director
Okay, take a breath. You’re now armed with the knowledge to avoid the most common pitfalls of beach sunset photography. It’s not about having the most expensive gear; it’s about being intentional.
From getting there early to staying late, from nailing your composition to protecting your gear, you have the roadmap to capturing the beauty you see with your eyes.
You’re not just a spectator anymore; you’re the director of your own stunning sunset masterpiece.
So next time you head to the shore as the day ends, you’ll be ready. You’ll see the light, find the foreground, and capture that magic. Now go get that shot – you totally got this.
